

Beyond Privacy – How To Make Subscriptions Public On YT?

YouTube is undoubtedly the most successful and widely spread social media platform on the internet. With transparent policies, the right to express, and most importantly intact privacy, YouTube has become the favorite of both users and creators. Your subscriptions might not be as private as you think. Surprised? Well, yes, YouTube allows some extent of […]
YouTube Rainbow Bar – Have You Enabled This Cool Feature
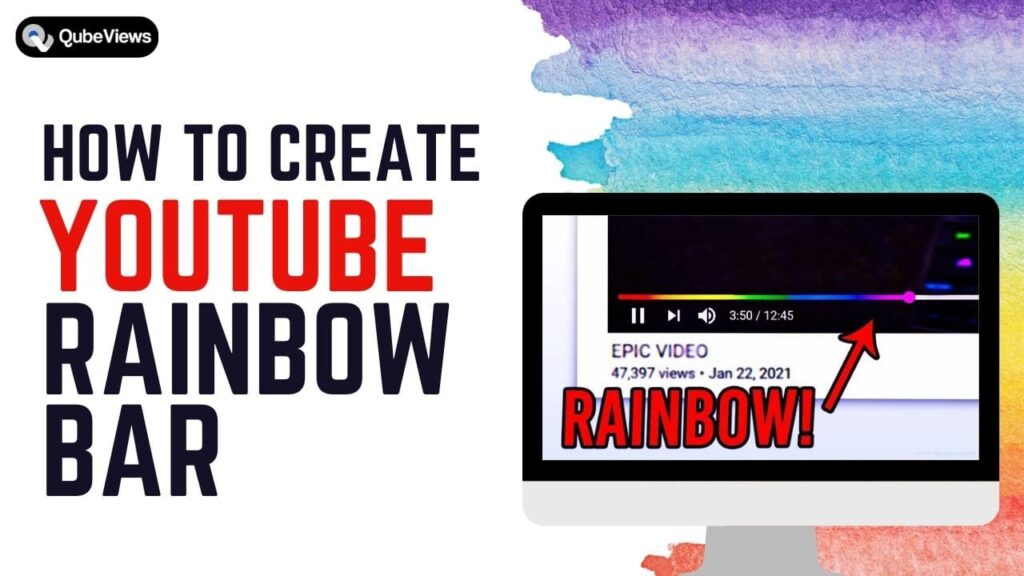
Ever heard of the YouTube Rainbow Bar? We’re sure that most of you don’t have any idea about what the rainbow bar on YouTube is. Some people say that it’s a glitch, some say that it’s a premium feature, while some believe that it’s just a gimmick. So what exactly is this Rainbow bar feature […]
